

We all like a beautiful manicure that just looks and feels elegant, but the
cost of salon manicures can really add up over the course of a year! If you
want to save time and money on manicures, I will give you essential steps for a
DIY manicure at home.

Step 1: prepare your tools
Be sure to have these essential tools in a tote you always have assembled
and ready.
·
Nail-polish
remover and cotton pads
·
Nail
clippers
·
Emery board
and nail buffer

·
Cuticle
pusher and nippers
·
Callous/cuticle
remover
·
Hand/nail
moisturizer
·
Base coat
·
Nail polish
· Clear topcoat
Step 2: remove your applied nail polish
Remove any previously applied nail polish with
a gentle nail-polish preferably with not to acetone, which is gentle on
your skin.
Step 3: Select the right shape

Clip
your nails, if necessary, then gently file them into shape. A slightly rounded
nail shape or square-rounded edge is generally the best way to go but you can
be as creative as you want.
Step 4: Soak
away. Ahh … the relaxing part!

A Classic manicure includes soaking your hands in warm soapy water to
soothe and soften dead skin cells.
Place your hands in a bowl of warm
(not too hot) water and add a bit of your gentle face cleanser or shampoo to
the water, limit this step to three minutes or less.
Step 5: Remove excess cuticle and callouses around the
nail
Once you land on the final shape, it’s important to make sure nothing is
left hanging on the edge. When nails are filed quite a bit, it's important to
use a nail buffer to get all remaining nail debris out from under the nail and
from the sides of the nail along the cuticle line
Be careful NOT to pull, lift, tear, rip, force, or cut into the cuticle in
any way.
Step 6: moisturize
Your fingernails are cleaned, clipped and filed. moisturizes your hands with
a rich cream with a gentle massage for a few minutes and then apply a silky oil
into cuticles.
Step7: Prep your nails properly before you paint
Cleanse the nails with your nail polish remover or alcohol to remove any
residue of cream or oil left on the nail.
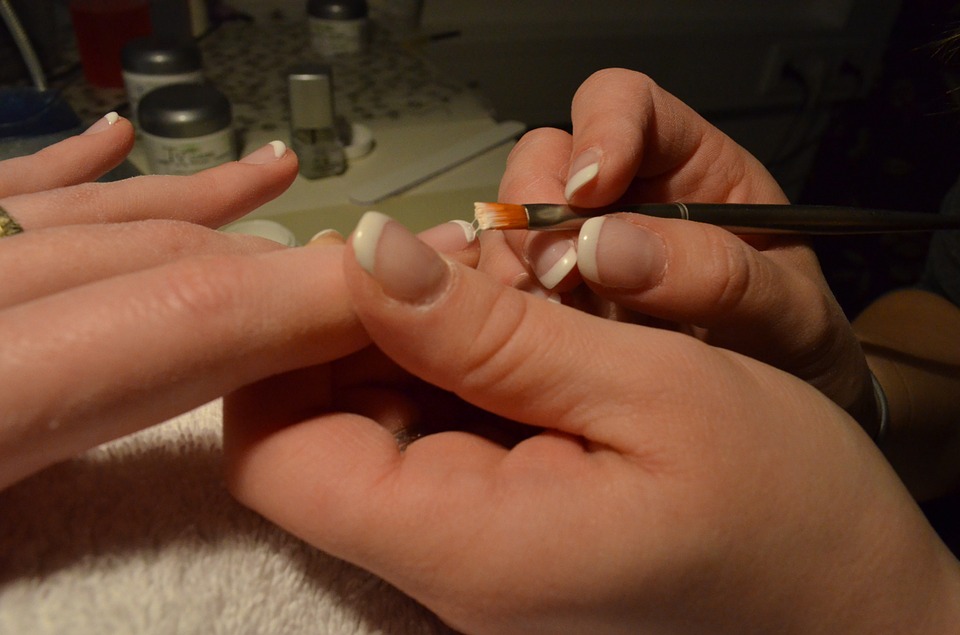
Step 8: Paint nails in coats

polishes your nails with a base coat, and then use a regular color you
prefer apply it in two thinner coats which are better than one thick coat. Make
sure to allow each layer to dry between coats.
follow by a top coat to add gloss should do the trick.
if the polish texture is sheer, oftentimes it will look good even with one
coat.
Step 9: Avoid heat when drying your nails
As for drying, air-dry or use a blast of cold—not hot—air to assist.
Heat actually keeps your polish from firming. Cold air
does the opposite.
When it dry, Fix mistakes, you can gently use your finger to push polish
back into place before adding a layer of top coat.
Step 10: Reapply moisturizer!
Keeping your hands and the nail area healthy-looking requires moisturizer.
You can't have great nails and hands without this essential product.


0 Commentaires